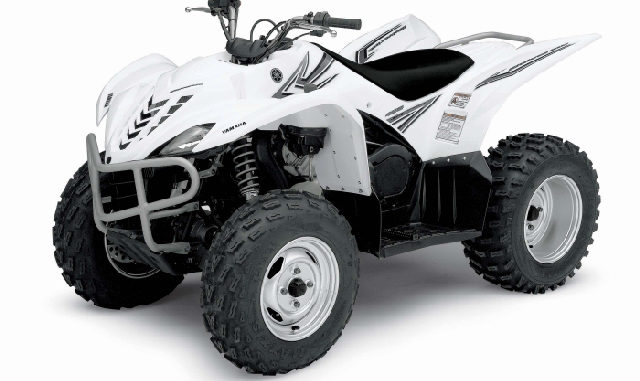
A downloadable Yamaha 350, 450 or 700 Wolverine repair manual is a digitally delivered book of repair instructions. The all-terrine /utility vehicle repair manual, termed service manual or online factory repair book, consist of main chapters outlining every aspect of maintenance, troubleshooting and repair. The instruction book can be downloaded directly to your computer in seconds.
What type of repair information is in a Wolverine repair manual?
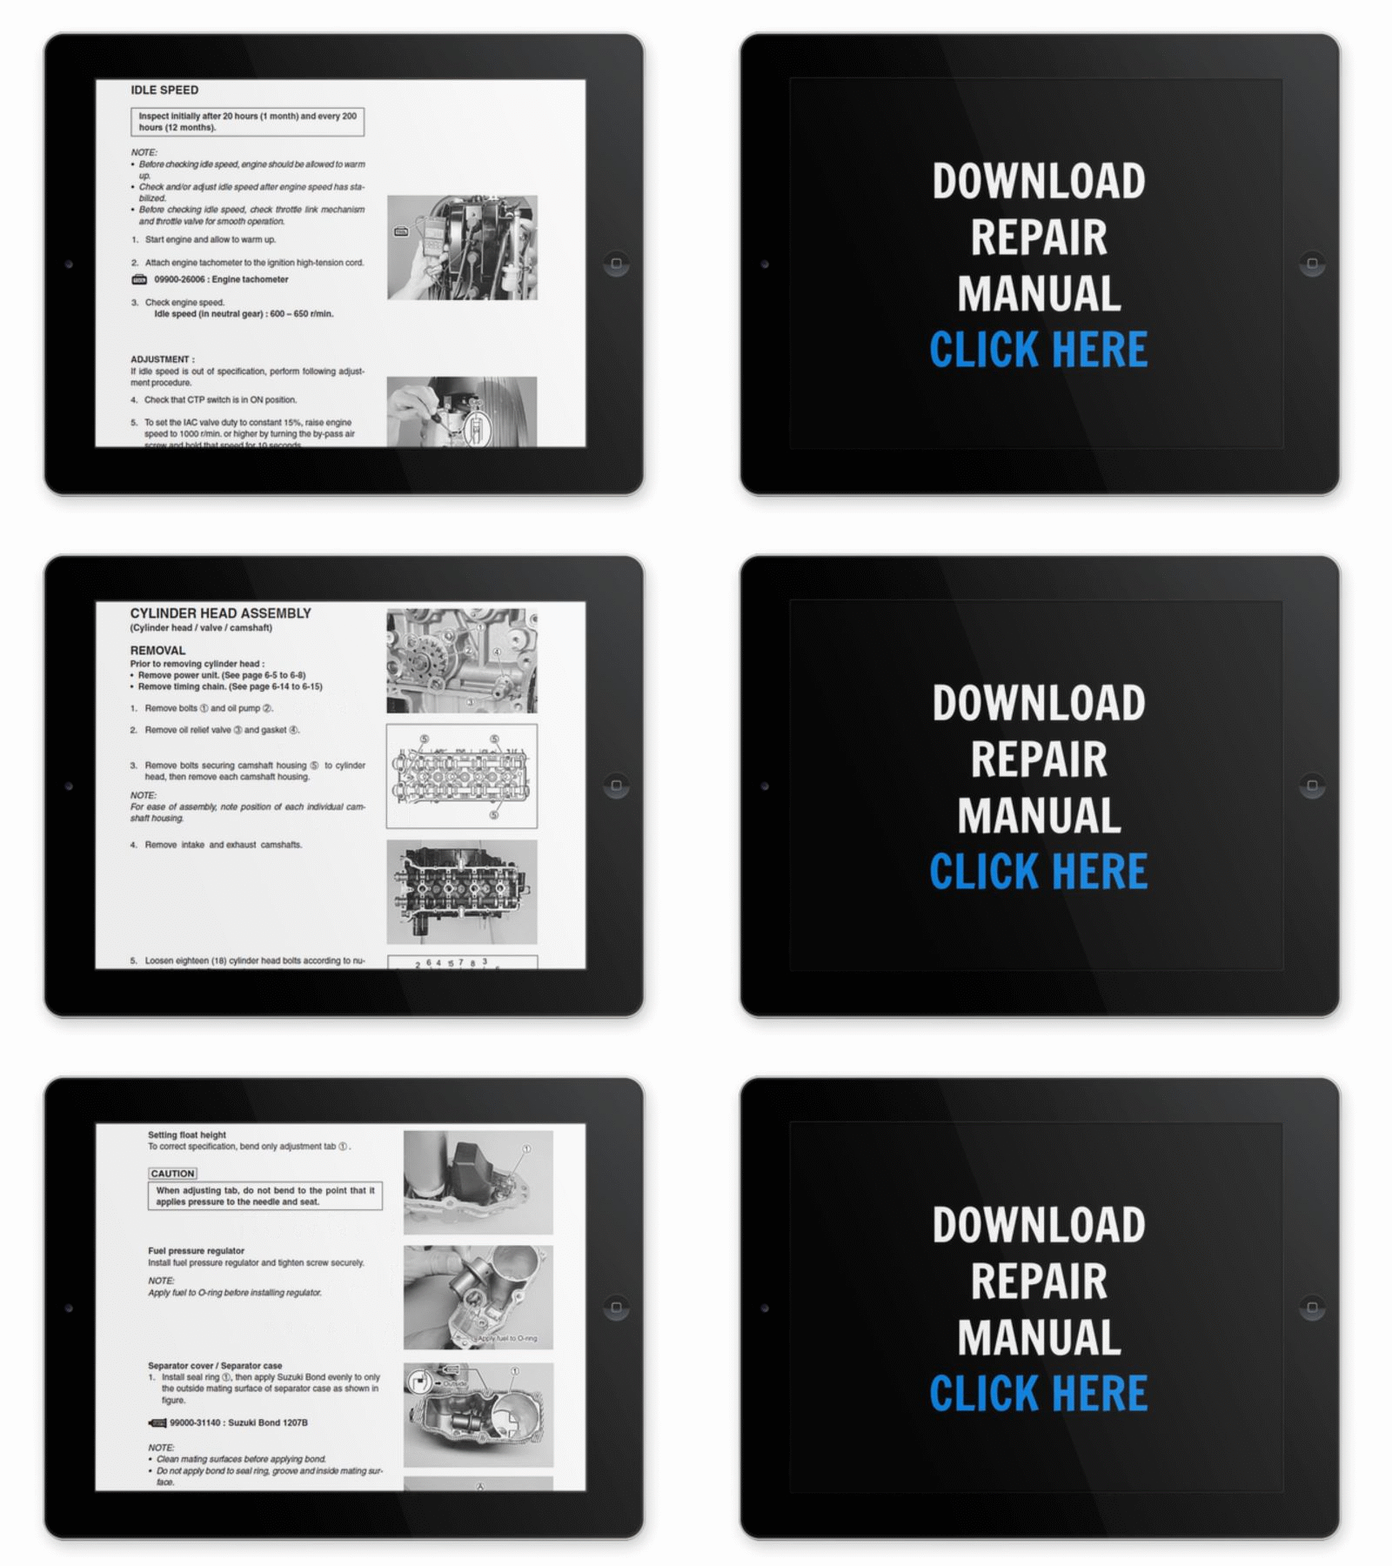
As previously mentioned, a Yamaha Wolverine 350, 450 or 700 repair manual covers every aspect of maintenance and repair. It also includes photographs, exploded diagrams and schematics to ensure the repair job is completed successfully. Easy-to-follow, step-by-step repair procedures, maintenance and service information are included in each of the following chapters and subchapters (actual topics will vary depending on year and model Wolverine):
General Information
- Wolverine identification numbers
- Model label
- Liquid cooling information
- Front differential
- Wolverine replacement parts
- Gaskets, o-rings and oil seals
- Lock washers and cotter pins
- Oil seals and bearings
- Inspecting connections
- Special tools
Inspections And Adjustments
- Introduction
- Periodic lubrication and maintenance
- Seat and side panels
- Fuel tank
- Rear carrier and rear fender
- Front bumper, front fender and front carrier
- Footrest boards
- Adjusting valve clearance
- Adjusting idle speed
- Adjusting speed limiter
- Adjusting throttle lever free play
- Adjusting starter cable
- Cleaning spark arrester
- Checking v-belt
- Coolant temperature warning light inspection
- Inspecting coolant level
- Replacing coolant
- Inspecting engine oil level
- Replacing engine oil
- Cleaning air filter
- Performing cylinder compression pressure test
- Checking ignition timing
- Rear break adjustment
- Inspecting brake fluid level
- Inspecting front and rear brake pads
- Inspecting brake hoses
- Bleeding hydraulic brake system
- Select lever control cable and shift rod adjustment
- Rear brake light switch adjustment
- Final gear oil level inspection
- Final gear oil level change
- Inspecting and changing differential gear oil
- Inspecting constant velocity joint duster boot
- Inspecting steering system
- Adjusting toe-in
- Adjusting front and rear shock absorber
- Checking tires and wheels
- Lubricating pedal, levers, etc.
- Inspecting and lubricating the cable.
- Inspecting battery
- Inspecting the fuse
- Headlight beam adjustment
- Changing headlight bulb
Cooling System
- Inspecting radiator
- Removing and installing radiator
- Inspecting thermostat
- Removing and installing thermostat
- Disassembling and assembling water pump
- Inspecting water pump
Carburetor
- Disassembling and assembling carburetor
- Inspecting carburetor
- Adjusting fuel level
Drive Train
- Troubleshooting
- Removing and installing universal joint
- Removing and installing ring gear
- Inspecting constant velocity joint
- Inspecting differential gear
- Inspecting gear motor
- Disassembling front constant velocity joint
- Assembly of front constant velocity joint
- Disassemble and assembly of differential gear
- Measuring of differential gear lash
- Adjusting differential gear lash
- Inspecting differential gear operation
- Removing and installing rear axle
- Disassembly and assembly of final drive gear
- Replacing final drive roller bearing
- Positioning final drive pinion gear
- Positioning ring gear
- Inspecting rear axle and drive shaft
Electrical
- Troubleshooting
- Electrical components
- Inspecting the switch
- Inspecting a switch in the manual
- Inspecting switch continuity
- Types of bulbs
- Checking condition of bulbs and sockets
- Circuit diagram
- Ignition system troubleshooting
- Electrical starter system
- Starter motor
- Starter motor
- Inspecting starter motor
- Assembling starter motor
- Charging system
- Lighting system
- Inspecting lighting system
- Inspecting signal system
- Cooling system diagrams
- 2WD/4WD selecting system
Specifications
- General Wolverine specifications
- Maintenance specifications
- Engine maintenance
- Chassis maintenance
- Electrical specifications
- Conversion tables
- Torque specifications
- Lubrication types and points
- Coolant flow diagrams
- Cable routing diagrams
Engine
- Engine removal
- Exhaust removal
- Engine hoses, cables and leads removal
- Engine mounting bolts
- Engine instillation
- Removing the engine’s cylinder head
- Inspecting tappet cover
- Inspecting timing chain tensioner
- Inspecting camshaft sprocket
- Inspecting cylinder head
- Installing cylinder head
- Camshaft and rocker arm removal and install
- Valve and valve spring removal and install
- Camshaft and rocker arm inspection
- Piston removal and instillation
- Timing chain guide inspection
- Cylinder and piston checking
- Piston ring and piston pin inspection
- A.C. magneto removal and install
- Disassembling and assembling recoil starter
- CDI magneto inspection
- Stater clutch and starter pulley inspection
- Recoil starter inspection
- Primary and secondary sliding sheave
- Removing and installing sheaves
- Sheave inspecting
- Removing, checking and installing clutch
- Starter motor, timing chain and oil filter
- Crankcase and bearing
- Removing and installing oil pump drive gear
- Separating crankcase
- Inspecting timing chain and guide
- Checking oil strainer and oil deliver pipe
- Crankcase and bearing inspection
- Installing shift lever
- Oil pump
- Removing and installing crankshaft
- Installing balancer
- Inspecting oil pump and crankshaft
- Inspecting shift fork and cam
- Removing and installing transmission
- Inspecting the transmission
- Inspecting the driven sprocket
- Inspecting secondary shaft
- Inspecting the chain
- Inspecting the stopper wheel and lever
- Middle drive and driven shaft
- Removing and installing drive shaft
- Remove and install driven shaft
- Middle drive and drive gear shim selection
- Inspecting pinion gear
- Measuring middle gear backlash
Chassis
- Front and rear wheels
- Inspecting wheel and hub
- Inspecting brake disc
- Removal and install of wheel and hub
- Front and rear brake pads
- Replacing front and rear brake pad
- Front and rear brake master cylinder
- Inspecting master cylinder
- Assembling front and rear brake master cylinder
- Installing front and rear brake master cylinder
- Disassembly of front and rear brake caliper
- Assembly of front and rear brake caliper
- Installing front and rear brake caliper
- Handle bar removal and install
- Inspecting handlebar
- Steering stem and inspection
- Removal and install brake lever
- Remove and install bearing retainer
- Removal and install of cable guide
- Tie rod steering knuckle inspection
- Tie rod steering knuckle removal and install
- Remove and install front arms
- Inspection front arms
- Inspection of front and rear shock absorbers
- Removing and installing swingarm
- Checking, installing rubber boot
- Installing rear axle housing
Troubleshooting
- Starting failure and hard starting
- Fuel system troubleshooting
- Electrical system troubleshooting
- Compression system
- Poor idle speed
- Poor media and high-speed performance
- Faulty drive train
- Hard shifting
- Shift lever won’t move
- Wolverine jumps out of gear
- Faulty clutch performance
- Engine works but ATV won’t move
- Clutch slipping
- Poor starting, won’t start
- Poor speed performance
- Overheating
- Poor braking effect
- Shock absorber malfunction
- Unstable handling
- Lighting system troubleshooting
Complete part removal, inspection, disassembly, assembly and installation knowhow is included when necessary. Refer to the troubleshooting section when the cause of the problem is unknown. The troubleshooting guide will help you trace and correct faults in the Wolverine’s mechanical and electrical system.
What is a dowbnlaoabe Wolverine repair manual?
A downloadable Wolverine repair manual is a digitally delivered book of repair instruction. It’s transmitted directly to your computer via Internet connection. The repair book appears identical to a paperback Wolverine repair book you’d obtain in a store.
The digital manual is in PDF (Portable Document Format). The file format provides electronic images of text and graphics that looks like a printed book. It can be downloaded to a computer, tablet or smart phone. Once downloaded the manual can be saved to the device forever. Download a Yamaha Wolverine repair manual instantly and fix your problems now! Yamaha Wolverine 350 repair manual.

I need a 1996 yamaha wolverine 350 4×4 repair manual. Do you got one for download?
You can download a repair manual for the following models:
1995-2004 Wolverine YFM35FXG YFM35FXH YFM350FXM YFM350FXMC YFM350FXLC YFM350FX
1995-1996 Yamaha Wolverine 350
1997-1998 Yamaha Wolverine 350
1999-2000 Yamaha Wolverine 350
2001-2002 Yamaha Wolverine 350
2003-2004 Yamaha Wolverine 350
2003-2004 Yamaha Wolverine 450
2005-2006 Yamaha Wolverine 450 manual
2005-2006 Yamaha Wolverine 450 also termed YFM45FX
2003-2006 Yamaha Wolverine YFM450FA
2007-2008 Yamaha Wolverine 450
2009-2010 Yamaha Wolverine 450
2006-2010 Yamaha Wolverine YFM45FXV
2006-2010 Yamaha Wolverine YFM450FAR
2016 Yamaha Wolverine 700 YX70EPNG
2016 Yamaha Wolverine 700 YXE70WPXG
2016 Yamaha Wolverine 700 YXE70WPHG, YXE70WDXG, YXE700E
Yes, see download link at top of page.
Does the 1998 yamaha wolverine 350 4×4 repair manual contain a wiring diagram?
Yes, it’s a black and white diagram, all instruments are labeled for reference.
I need to know where the fuse location is on a 2007 yamaha wolverine 350.
This information is in the manual.
Does the manual for the 1995 yamaha wolverine 350 4×4 contain full engine specs?
Yes
Will the 1995 yamaha wolverine 350 owners manual contain the same information as the repair manual?
Yes and no, owners manual covers mostly operating procedures. Repair manual covers maintenance, service and repair procedures.
I need the 1999 yamaha wolverine 350 4×4 service manuals.
Sure, you can download it using the link.
Is the 2000 yamaha wolverine 350 service manual delivered in pdf format?
Yes, it’s a simple download.
Yamaha wolverine 450 service manual pdf